> For the complete documentation index, see [llms.txt](https://docs.geopard.tech/geopard-tutorials/llms.txt). Markdown versions of documentation pages are available by appending `.md` to page URLs; this page is available as [Markdown](https://docs.geopard.tech/geopard-tutorials/jpn/giskuikkuhinto/qgis-split-multi-field-shapefiles.md).
# QGIS:1つのシェープファイルを圃場ごとのファイルに分割する
QGISの「ベクタレイヤを分割」を使って、農場全体の圃場境界または収量のシェープファイルを圃場ごとに分割し、圃場属性に基づいてファイル名を付けます。
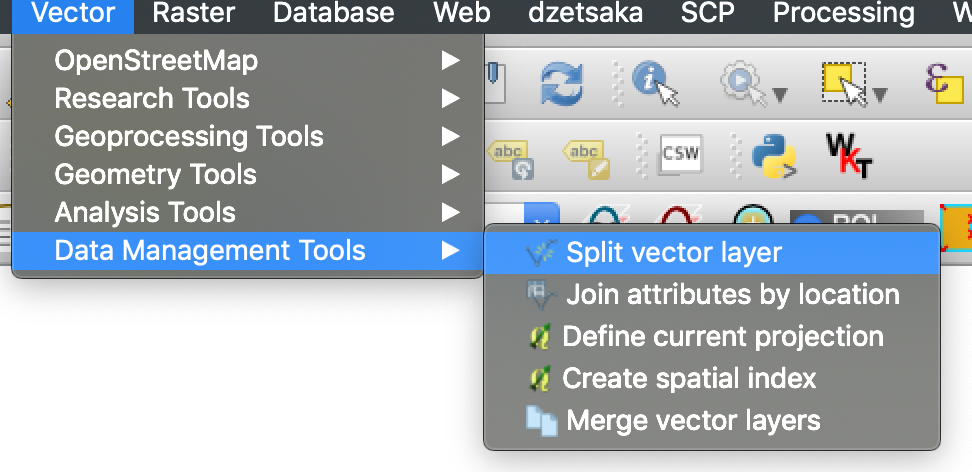
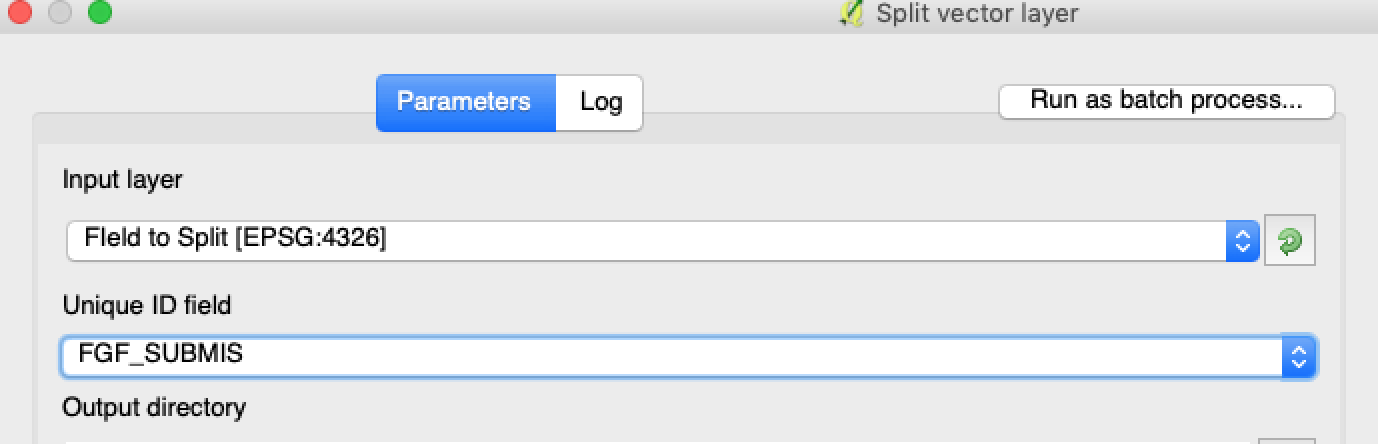
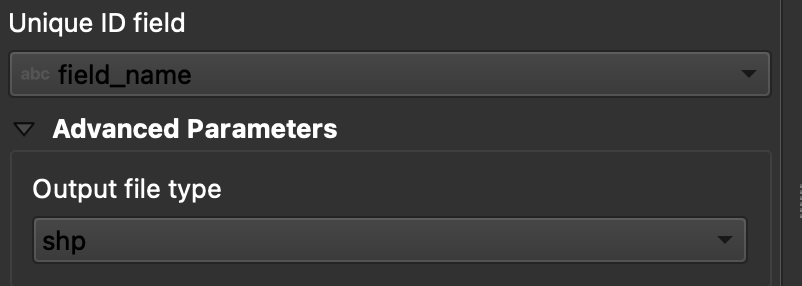
[ベクタ]→[データ管理ツール]→[ベクタレイヤを分割]を実行し、一意のIDとしてフィールド名の属性を選択すると、QGISはフィールドごとに1つのファイルを出力フォルダーに作成します。まず各フィールドに一意の名前が付いていることを確認してください。同じ名前のフィールドが2つあると、1つのファイルにまとめられます。
{% hint style="success" %}
分割した圃場境界をアップロードして、すべての圃場を1つの地図で確認しましょう: [無料で始める](https://app.geopard.tech/auth/sign-up?utm_source=docs\&utm_medium=cta\&utm_campaign=qgis-split-multi-field-shapefiles)
{% endhint %}
1つのシェープファイルに複数の圃場ポリゴンが含まれている場合は、インポートする前に分割してください。GeoPardでは、シェープファイル1つにつき圃場境界を1つインポートします。このQGISの手順を使うと、ファイルを効率よく整理し、インポート時の問題を防げます。
### 始める前に
* レイヤに、一意の圃場名またはIDが設定されていることを確認してください。
* あらかじめ空の出力フォルダーを作成してください。
* 削除 `/`, `\`などの特殊文字をフィールド名から削除してください。
### QGISで複数圃場のシェープファイルを分割する
#### 1. シェープファイルをQGISで開く
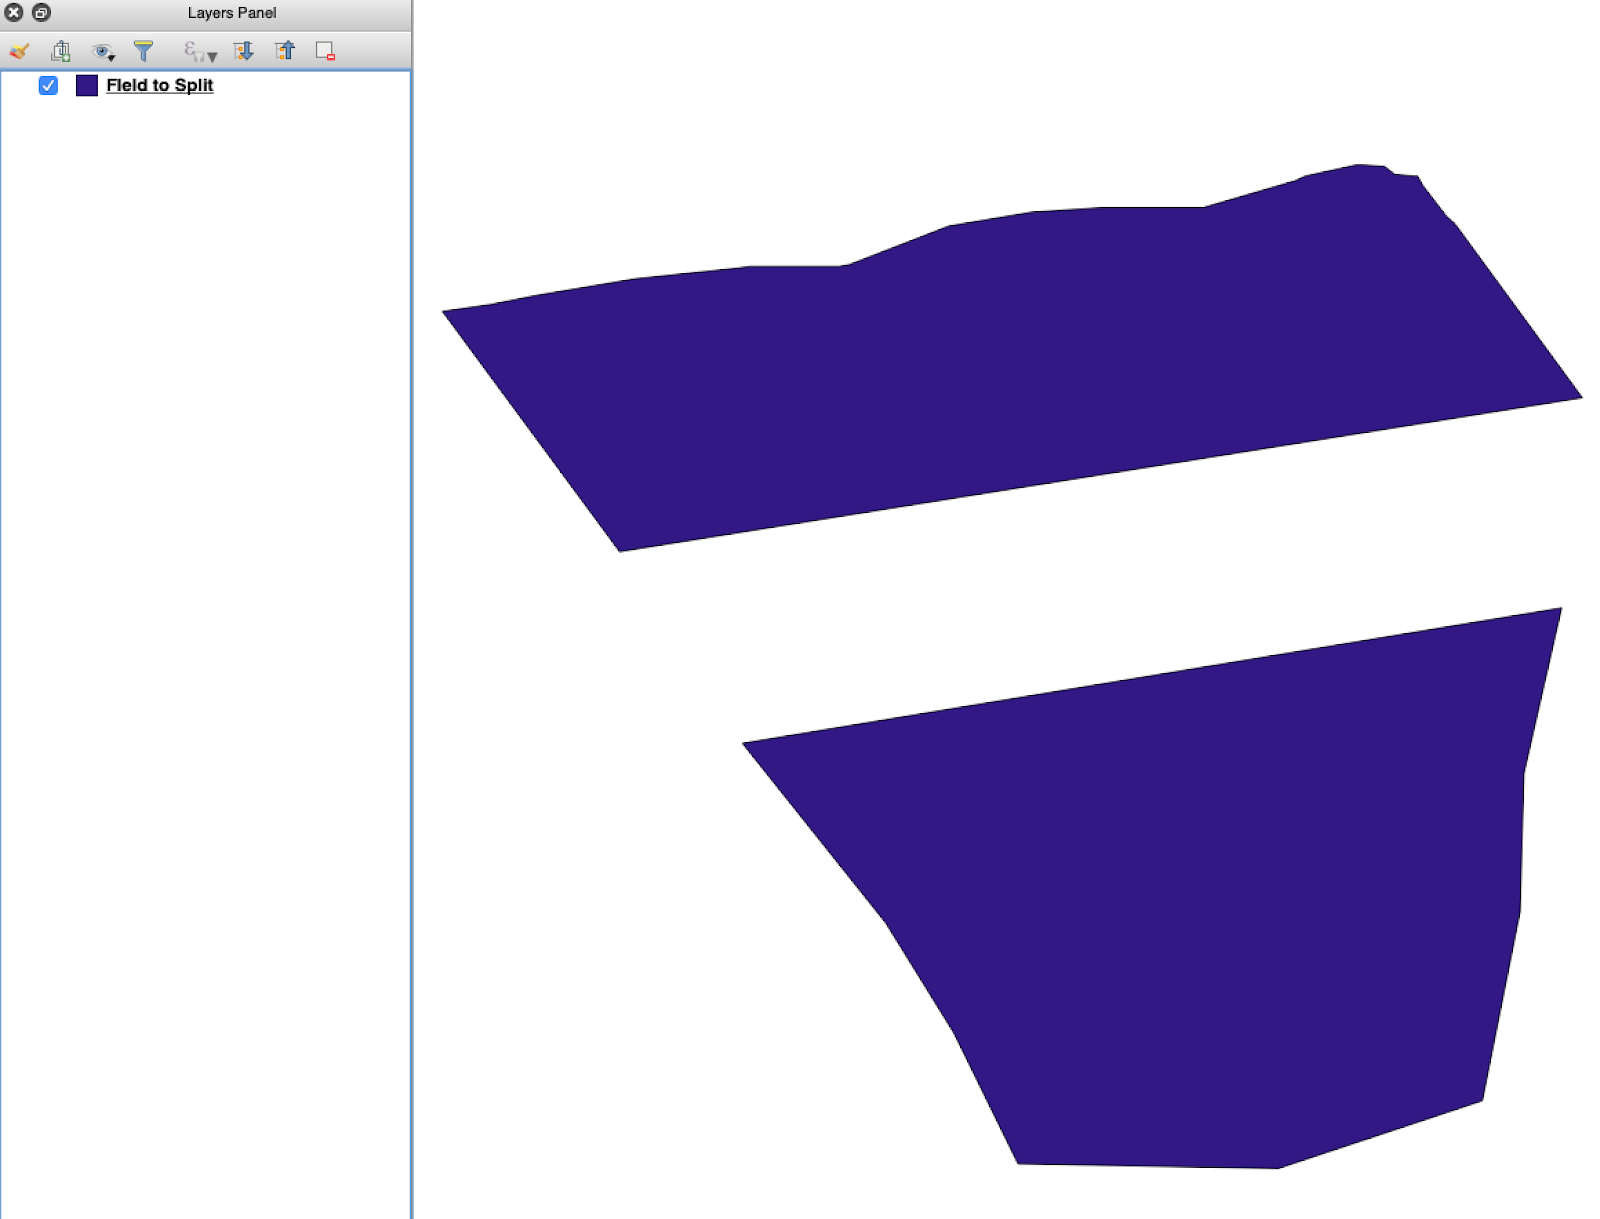
元のシェープファイルをQGISで開き、複数の圃場ポリゴンが含まれていることを確認します。
#### 5. 分割を実行する
[ **実行**]をクリックします。QGISはポリゴンごとに1つのファイルを作成します。各ポリゴンが個別の圃場境界シェープファイルになります。
#### 6. 必要に応じて `.gpkg` ファイルを `.shp` に変換する
QGISの環境によっては、最初に `.gpkg` ファイルが作成されることがあります。その場合は、各ファイルを開き、 **ESRI Shapefile**.
1. レイヤを右クリックします。
2. [ **エクスポート** ]→[ **地物を別名で保存**.
3. ]を選択し、 **ESRI Shapefile**.
4. ファイル名と保存場所を設定します。
5. 必要に応じて、不要な属性を削除します。
### 結果
これで、圃場ごとに1つのシェープファイルが作成されました。各ファイルはGeoPardに圃場境界をアップロードする準備ができています。これにより、設定にかかる時間を短縮し、避けられるインポートのやり直しを減らせます。
### QGISの関連ガイド
* [QGIS:CSVをSHPに変換する](https://docs.geopard.tech/geopard-tutorials/jpn/giskuikkuhinto/qgis-convert-csv-to-shp.md)
* [QGIS:シェープファイルを再投影する](https://docs.geopard.tech/geopard-tutorials/jpn/giskuikkuhinto/qgis-reproject-shapefile.md)
{% hint style="success" %}
分割した圃場境界をアップロードして、すべての圃場を1つの地図で確認しましょう: [無料で始める](https://app.geopard.tech/auth/sign-up?utm_source=docs\&utm_medium=cta\&utm_campaign=qgis-split-multi-field-shapefiles)
{% endhint %}
---
# Agent Instructions
This documentation is published with GitBook. GitBook is the documentation platform designed so that both humans and AI agents can read, navigate, and reason over technical content effectively. Learn more at gitbook.com.
## Querying This Documentation
If you need additional information that is not directly available in this page, you can query the documentation by asking a question.
Perform an HTTP GET request on the following URL with the `ask` and `goal` query parameters:
```
GET https://docs.geopard.tech/geopard-tutorials/jpn/giskuikkuhinto/qgis-split-multi-field-shapefiles.md?ask=&goal=
```
`ask` is the immediate question: it should be specific, self-contained, and written in natural language.
`goal` is what the user is ultimately trying to achieve, the reason they need the answer. Sharing it helps GitBook give you a better, more relevant answer. A goal is most helpful when it describes the outcome the user wants rather than restating the question. For example, with `ask=how do I create an API token`, a goal like `automate deployments from our CI pipeline` lets GitBook tailor the answer to that use case.
The response will contain a direct answer to the question and relevant excerpts and sources from the documentation.
Use this mechanism when the answer is not explicitly present in the current page, you need clarification or additional context, or you want to retrieve related documentation sections.