> For the complete documentation index, see [llms.txt](https://docs.geopard.tech/geopard-tutorials/llms.txt). Markdown versions of documentation pages are available by appending `.md` to page URLs; this page is available as [Markdown](https://docs.geopard.tech/geopard-tutorials/fin/gis-pikavinkit/qgis-convert-csv-to-shp.md).
# QGIS: CSV-pistetiedoston muuntaminen shapefile-tiedostoksi
Lataa leveys- ja pituusasteet sisältävä CSV QGISiin pistetasona (Add Delimited Text Layer), määritä koordinaattijärjestelmäksi EPSG:4326 ja tallenna tuontia varten shapefile-tiedostona.
Valitse QGISissä Taso, Lisää taso, Lisää eroteltu tekstitaso, valitse CSV-tiedosto, määritä X-kentäksi pituusasteita sisältävä sarake ja Y-kentäksi leveysasteita sisältävä sarake sekä aseta koordinaattijärjestelmäksi EPSG:4326 (WGS 84). Napsauta sitten tasoa hiiren oikealla painikkeella ja valitse Vie, Tallenna kohteet nimellä, ESRI Shapefile. Tekstimuotoisiksi tallennettujen numeroiden sarakkeet tarvitsevat [vielä yhden vaiheen](https://docs.geopard.tech/geopard-tutorials/fin/gis-pikavinkit/qgis-change-string-to-number-values-in-the-shapefile.md).
{% hint style="success" %}
Ohita muunnos: GeoPard tuo maaperälaboratorion CSV- ja Excel-tiedostot suoraan. [Aloita maksutta](https://app.geopard.tech/auth/sign-up?utm_source=docs\&utm_medium=cta\&utm_campaign=qgis-convert-csv-to-shp)
{% endhint %}
Tässä opetusohjeessa kerrotaan, miten CSV muunnetaan SHP-muotoon (shapefile). Alla on ohjeet tämän tekemiseen [QGIS-](https://www.qgis.org/en/site/) työpöytäsovelluksella.
**TÄRKEÄÄ**: CSV-tiedoston on sisällettävä `longitude` - ja `latitude` sarakkeet, jotta sijaintitiedot voidaan georeferoida oikein.
**VAIHE 1**: Aloita tuonti valitsemalla "Taso" >> "Lisää taso" >> "Lisää eroteltu tekstitaso".
**VAIHE 2**: Määritä tuontiasetukset ja napsauta "Lisää"-painiketta.
1. Määritä CSV-tiedoston polku
2. Tarkista sarakkeiden erotinmerkki; sen tulee olla pilkku.
3. Tarkista ensimmäinen rivi. Se sisältää yleensä attribuuttien nimet, joten se on jätettävä pois jäsennyksestä.
4. Valitse aineistosta sarakkeet, joissa ovat pituusasteen (X-kenttä) ja leveysasteen (Y-kenttä) tiedot.
5. Aseta koordinaattijärjestelmä. Yleensä käytetään järjestelmää EPSG:4326.
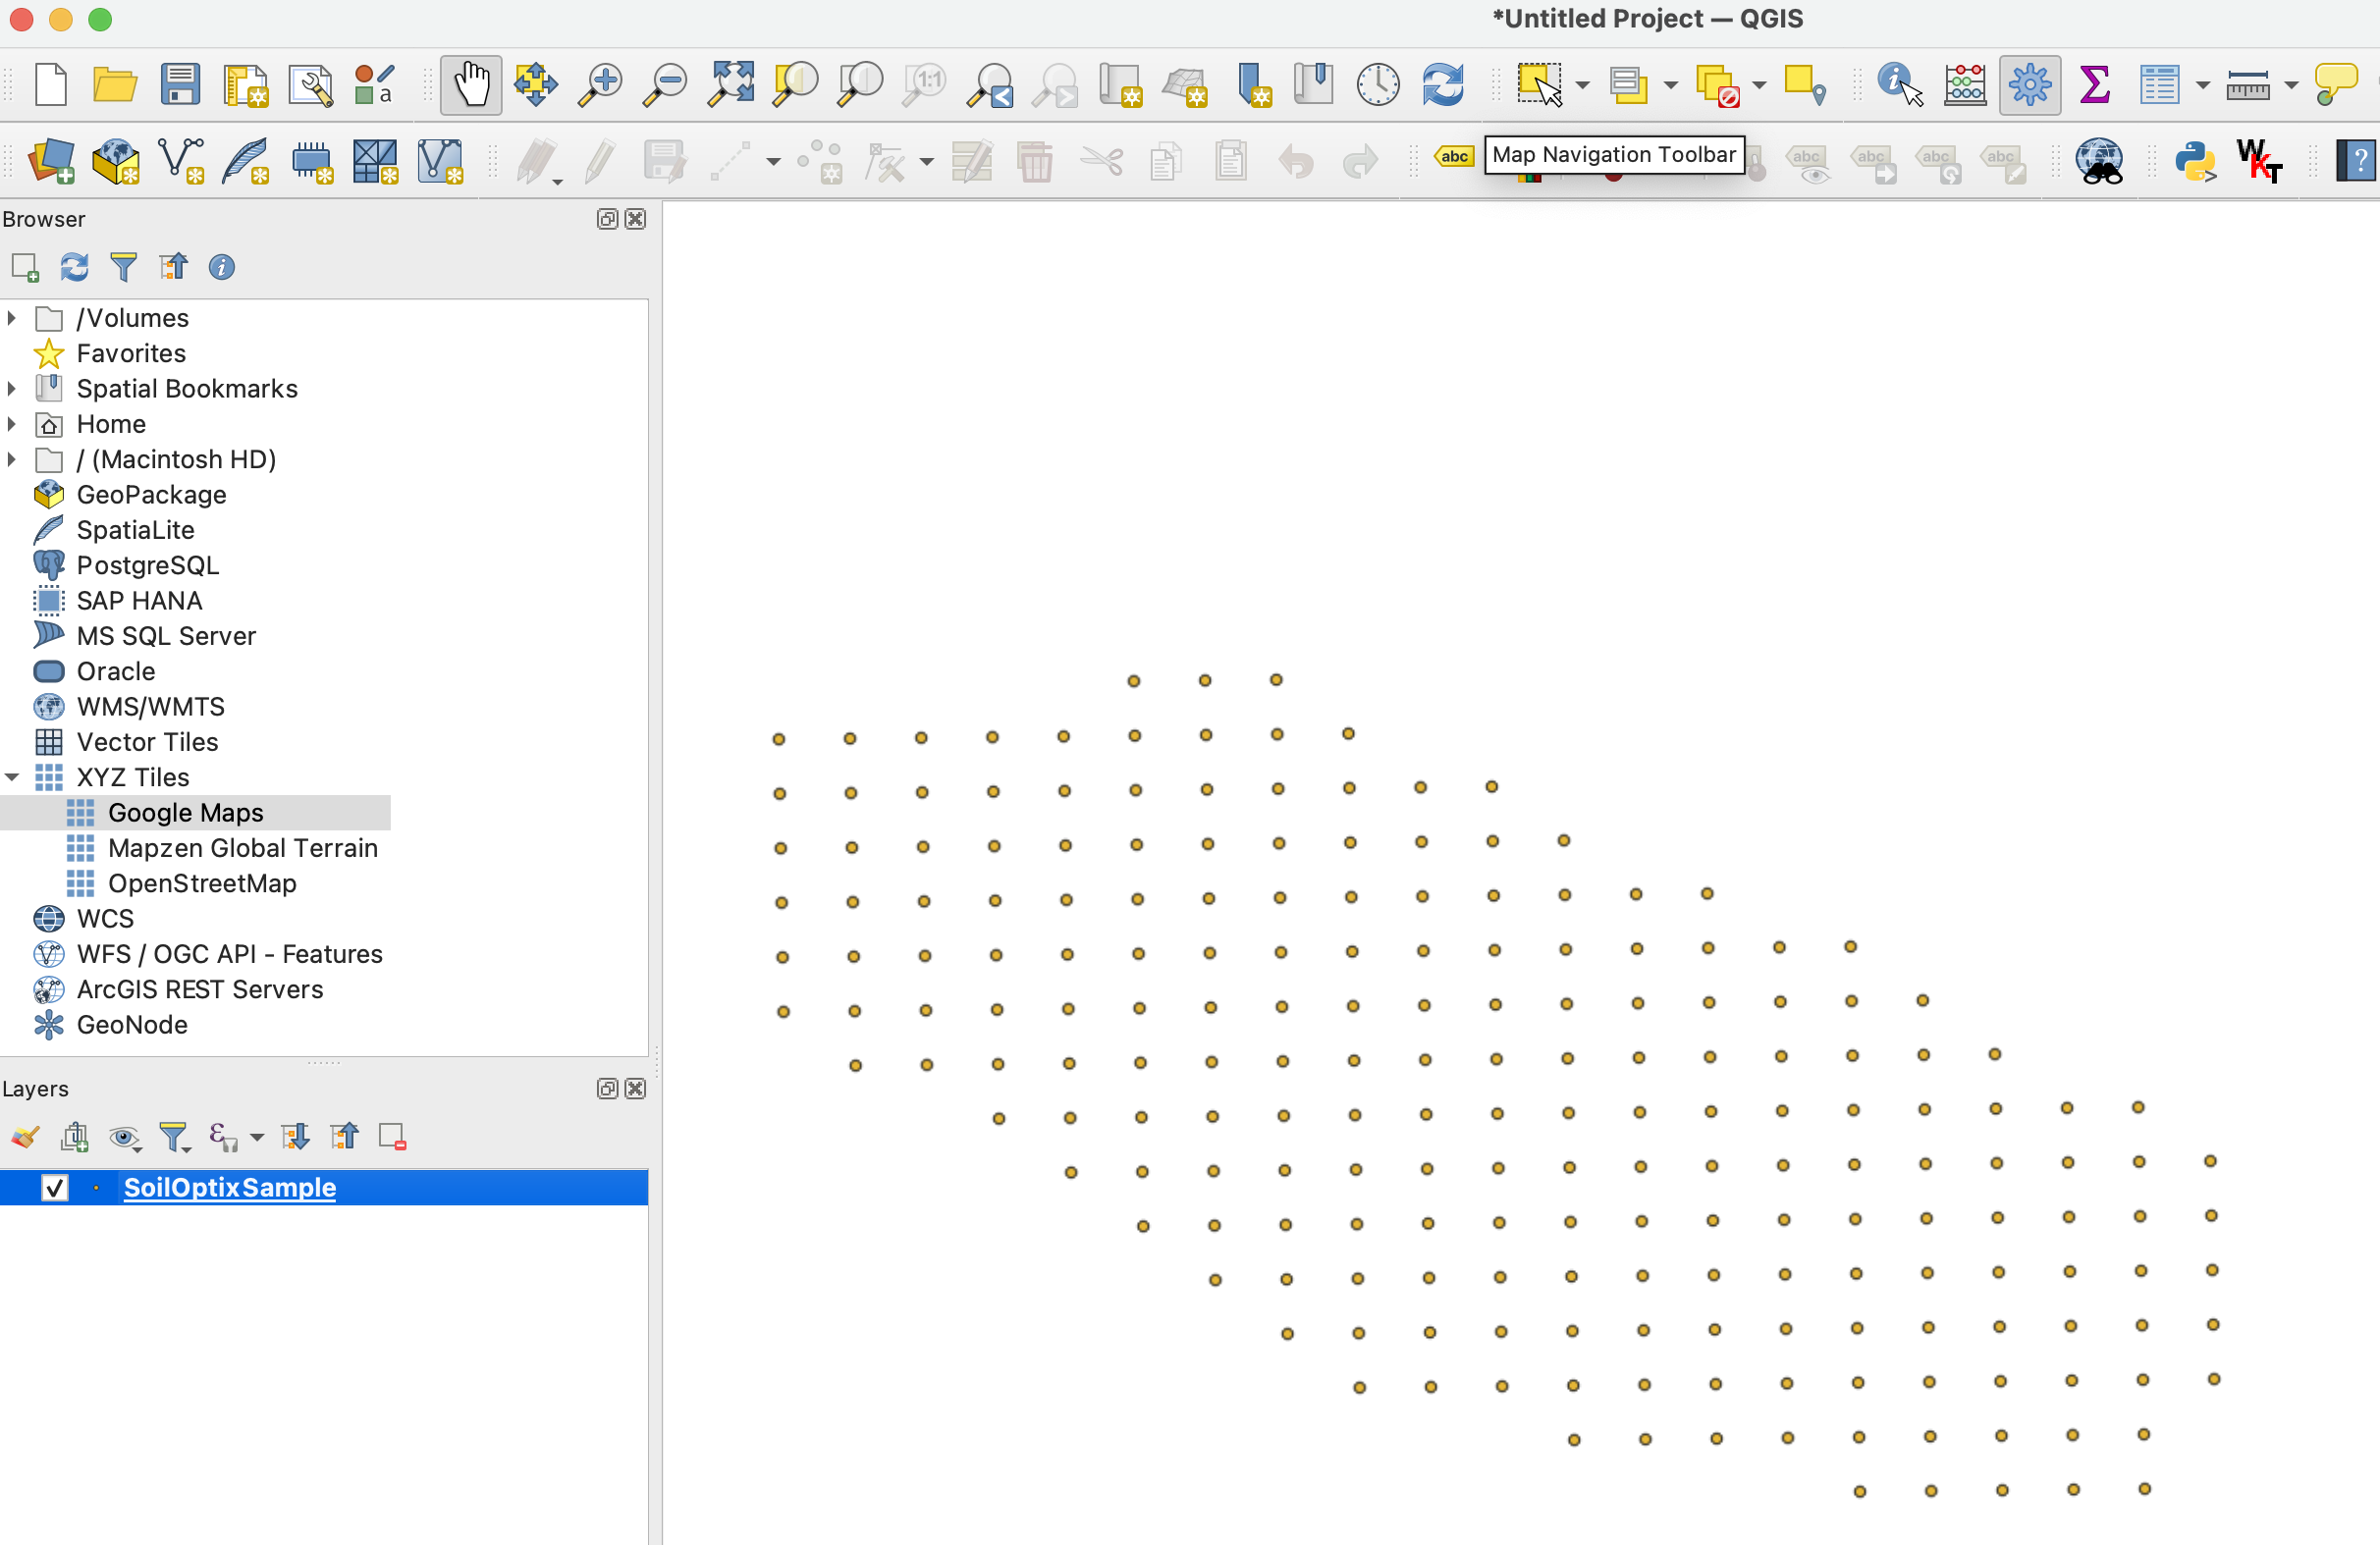
VAIHEEN 2 jälkeen odotettu tulos **VAIHE** näyttää tältä:
**VAIHE 3**: Käynnistä vienti napsauttamalla tasoa hiiren oikealla painikkeella ja valitsemalla "Vie" >> "Tallenna kohteet nimellä ..."
**VAIHE 4**: Määritä vientiasetukset ja napsauta "Ok".
1. Määritä vietävän shapefile-tiedoston polku.
2. Aseta koordinaattijärjestelmäksi (CRS) EPSG:4326, jota GeoPard tukee.
{% hint style="success" %}
Ohita muunnos: GeoPard tuo maaperälaboratorion CSV- ja Excel-tiedostot suoraan. [Aloita maksutta](https://app.geopard.tech/auth/sign-up?utm_source=docs\&utm_medium=cta\&utm_campaign=qgis-convert-csv-to-shp)
{% endhint %}
---
# Agent Instructions
This documentation is published with GitBook. GitBook is the documentation platform designed so that both humans and AI agents can read, navigate, and reason over technical content effectively. Learn more at gitbook.com.
## Querying This Documentation
If you need additional information that is not directly available in this page, you can query the documentation by asking a question.
Perform an HTTP GET request on the following URL with the `ask` and `goal` query parameters:
```
GET https://docs.geopard.tech/geopard-tutorials/fin/gis-pikavinkit/qgis-convert-csv-to-shp.md?ask=&goal=
```
`ask` is the immediate question: it should be specific, self-contained, and written in natural language.
`goal` is what the user is ultimately trying to achieve, the reason they need the answer. Sharing it helps GitBook give you a better, more relevant answer. A goal is most helpful when it describes the outcome the user wants rather than restating the question. For example, with `ask=how do I create an API token`, a goal like `automate deployments from our CI pipeline` lets GitBook tailor the answer to that use case.
The response will contain a direct answer to the question and relevant excerpts and sources from the documentation.
Use this mechanism when the answer is not explicitly present in the current page, you need clarification or additional context, or you want to retrieve related documentation sections.