> For the complete documentation index, see [llms.txt](https://docs.geopard.tech/geopard-tutorials/llms.txt). Markdown versions of documentation pages are available by appending `.md` to page URLs; this page is available as [Markdown](https://docs.geopard.tech/geopard-tutorials/de/produkt-tour-mobile-app/working-offline.md).
# Offline arbeiten
Die GeoPard Mobile App offline nutzen und Feldarbeiten auch ohne Signal voranbringen.
Offline arbeiten
Bevor Sie mit der GeoPard-Mobilanwendung arbeiten, empfehlen wir Ihnen, Ihre Zugangsdaten zu speichern. So können Sie auch ohne Netzwerkverbindung problemlos auf die Anwendung zugreifen.
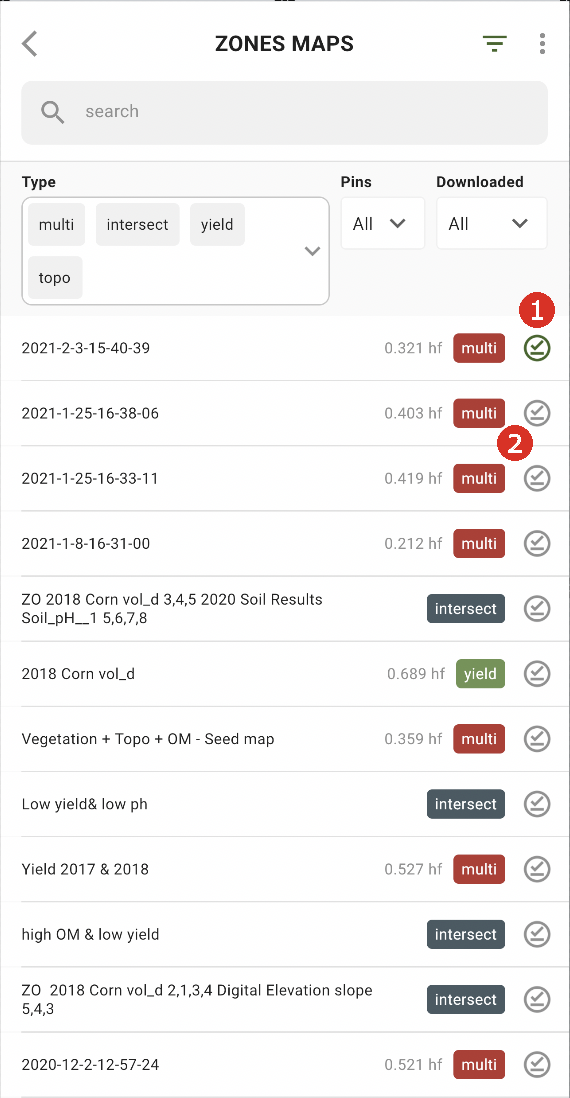
Um offline arbeiten zu können, müssen Sie eine Zonenkarte auf Ihr Smartphone herunterladen. Tippen Sie neben der gewünschten Zonenkarte auf die Schaltfläche zum Herunterladen (2).
Sobald die Karte auf Ihr Gerät heruntergeladen wurde, wird daneben ein grünes Häkchen angezeigt (1).
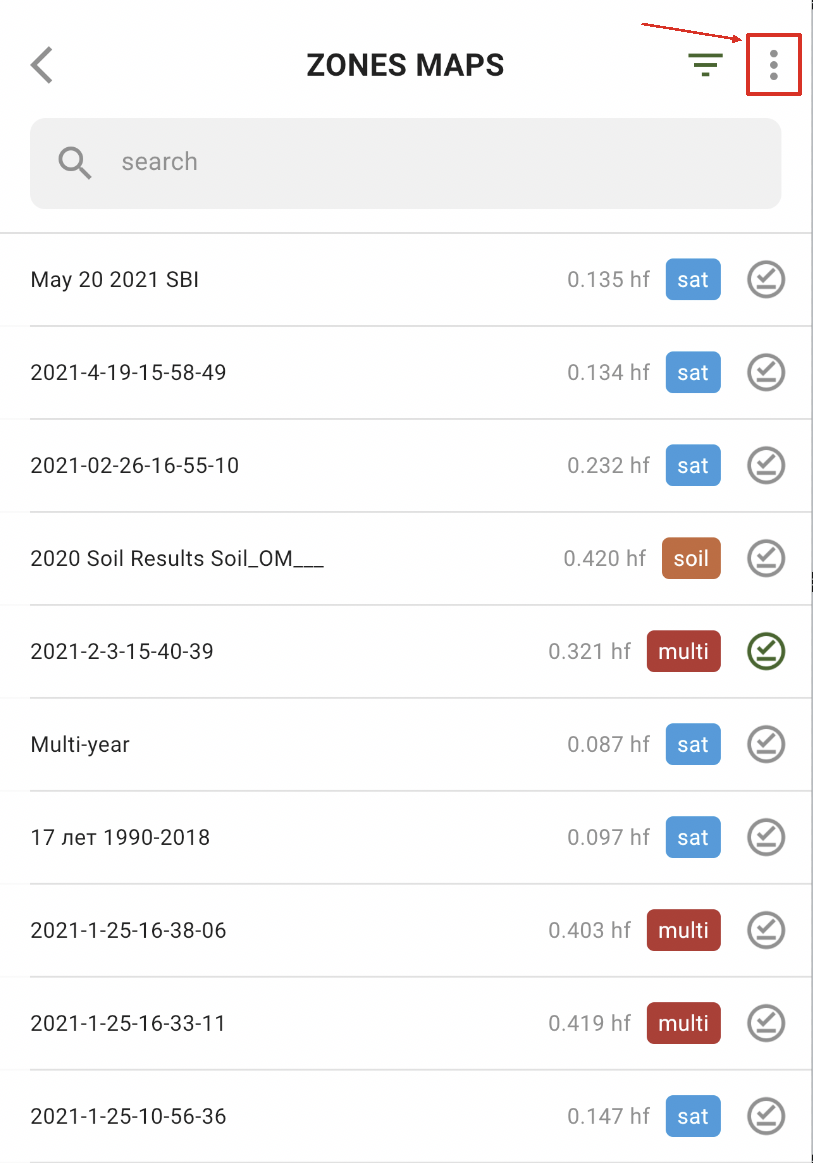
Um alle Zonenkarte auf einmal herunterzuladen, tippen Sie auf „Mehr“:
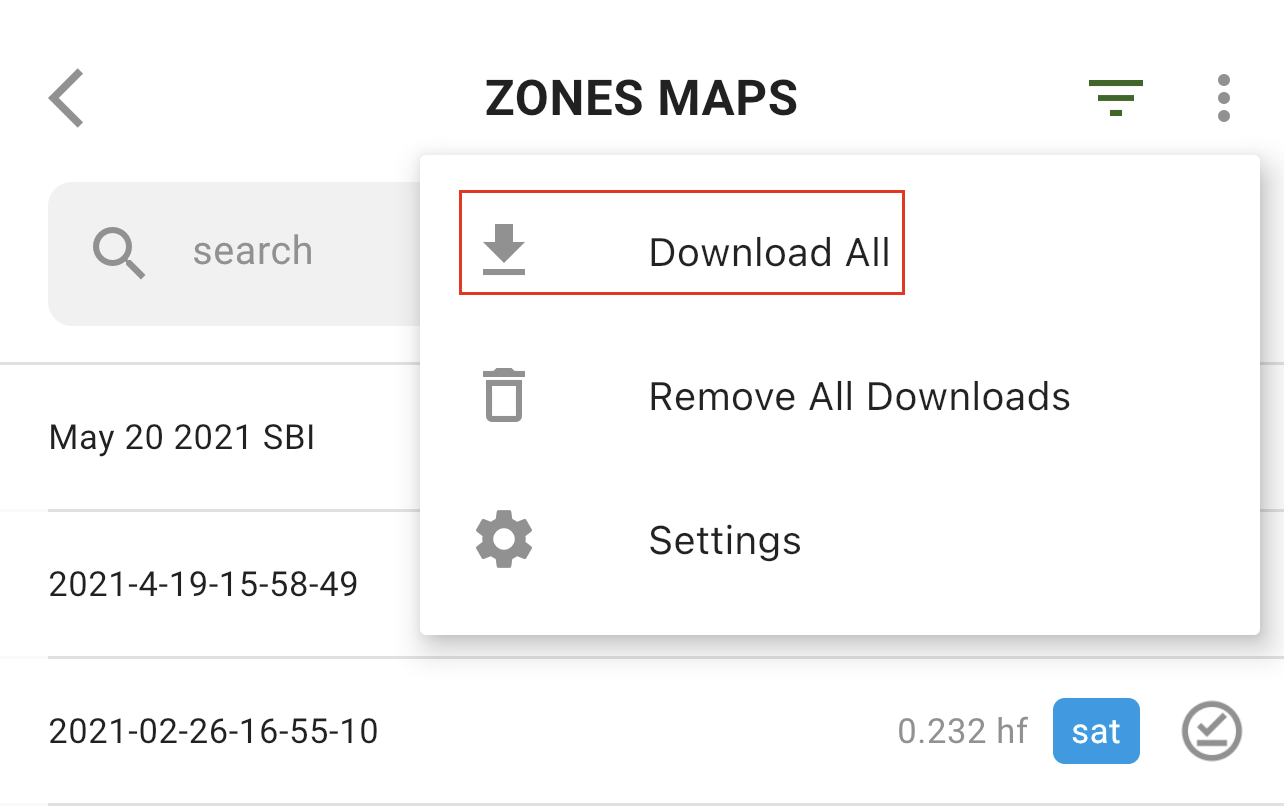
und wählen Sie „Alle herunterladen“ aus:
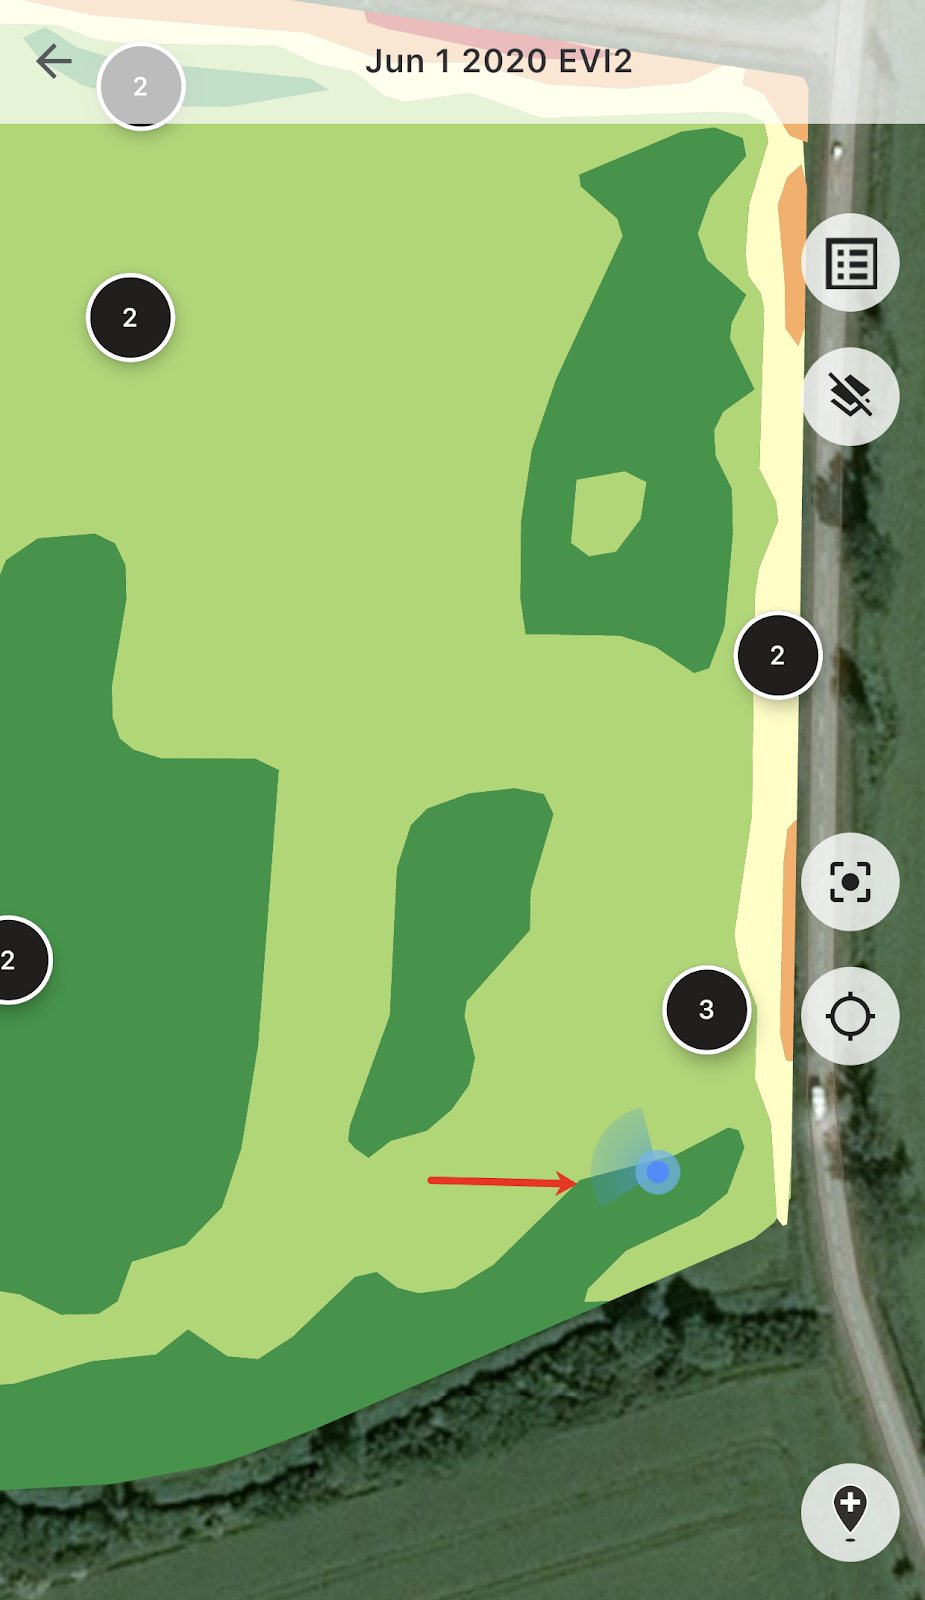
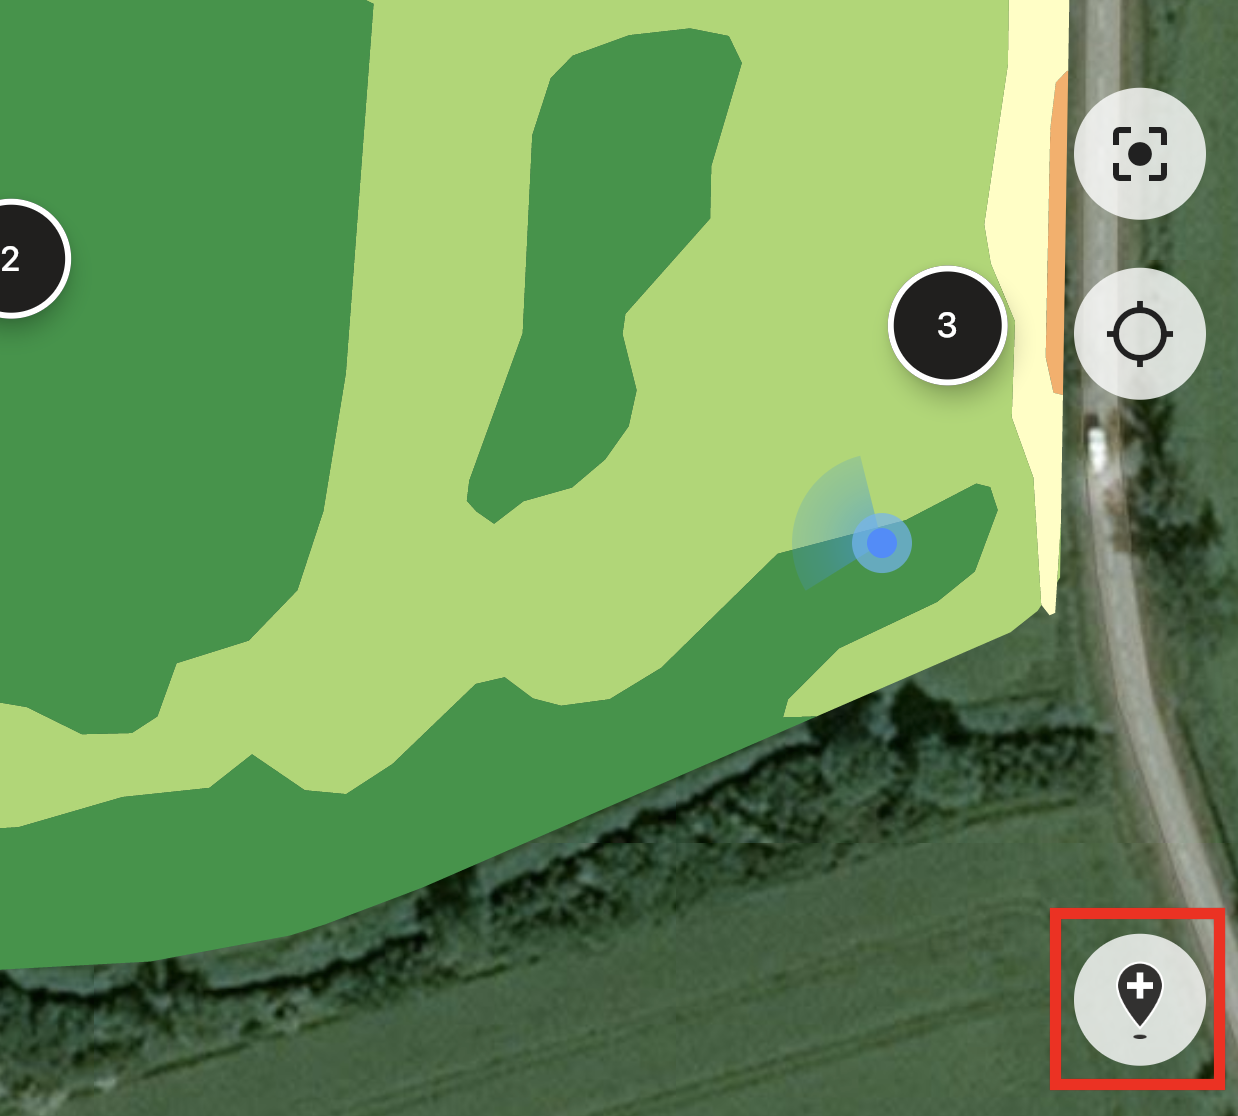
Sobald Sie sich auf dem Feld befinden, können Sie Ihren Standort verfolgen und die Bewegungsrichtung sehen.
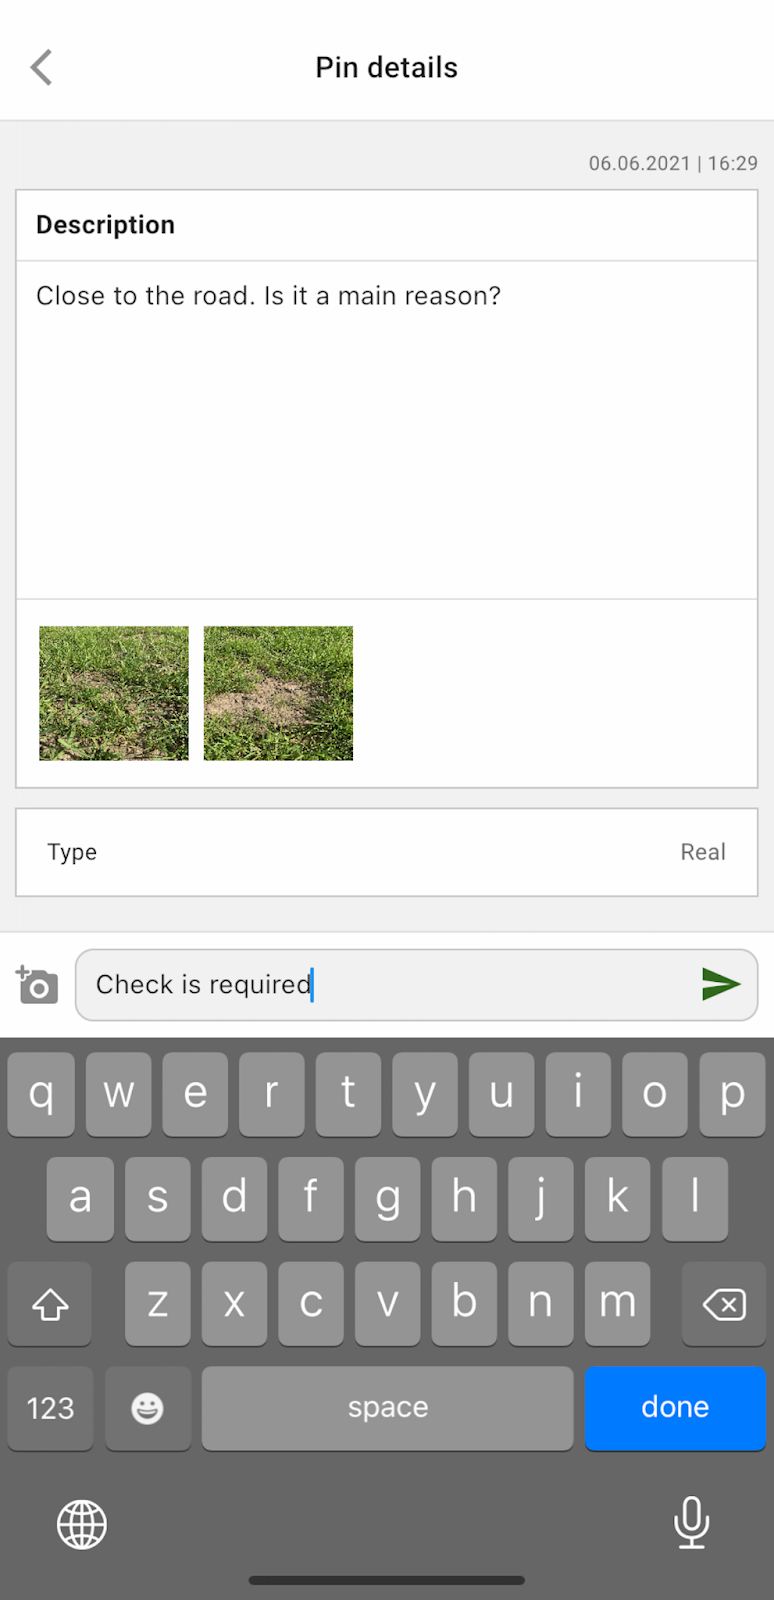
Sie können auf eine beliebige geplante Markierung tippen und Kommentare hinzufügen oder bearbeiten.
Wenn Ihnen etwas auffällt, das Aufmerksamkeit erfordert (eine Anomalie oder eine fehlerhafte Feldgrenze), tippen Sie auf „Neue Markierung hinzufügen“.
Geben Sie Ihre Kommentare ein und tippen Sie auf „Speichern“, um der Zonenkarte eine neue Markierung hinzuzufügen.
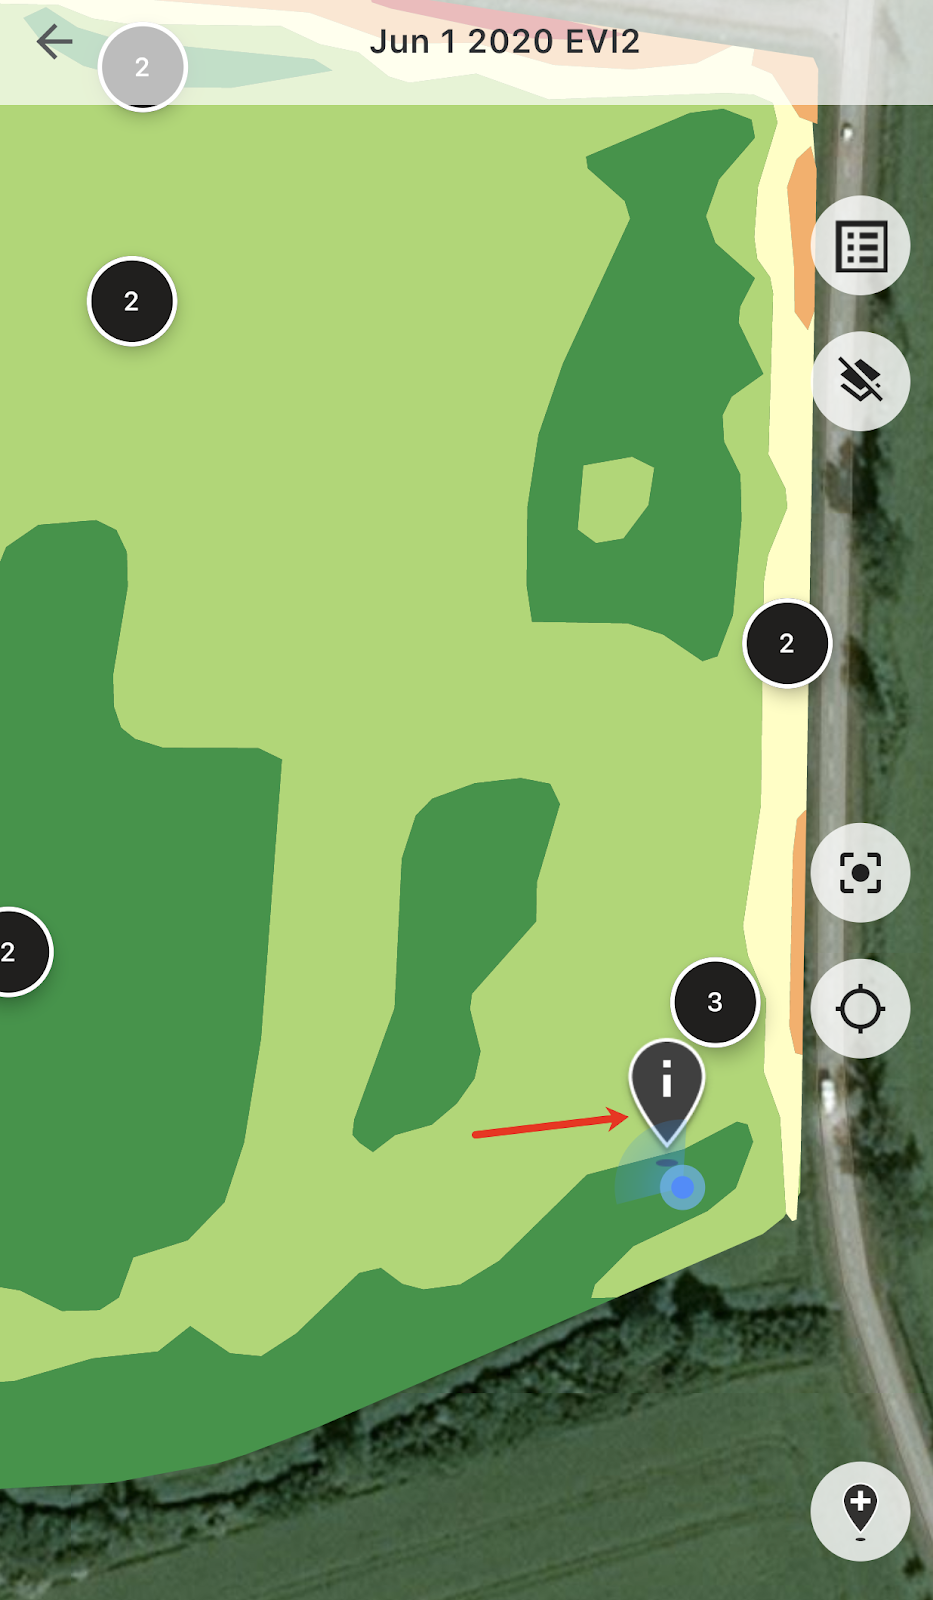
Markierungen, die Sie mit Ihrem Mobilgerät hinzufügen, haben ein anderes Symbol als geplante Markierungen, die Sie über die Webanwendung hinzufügen.
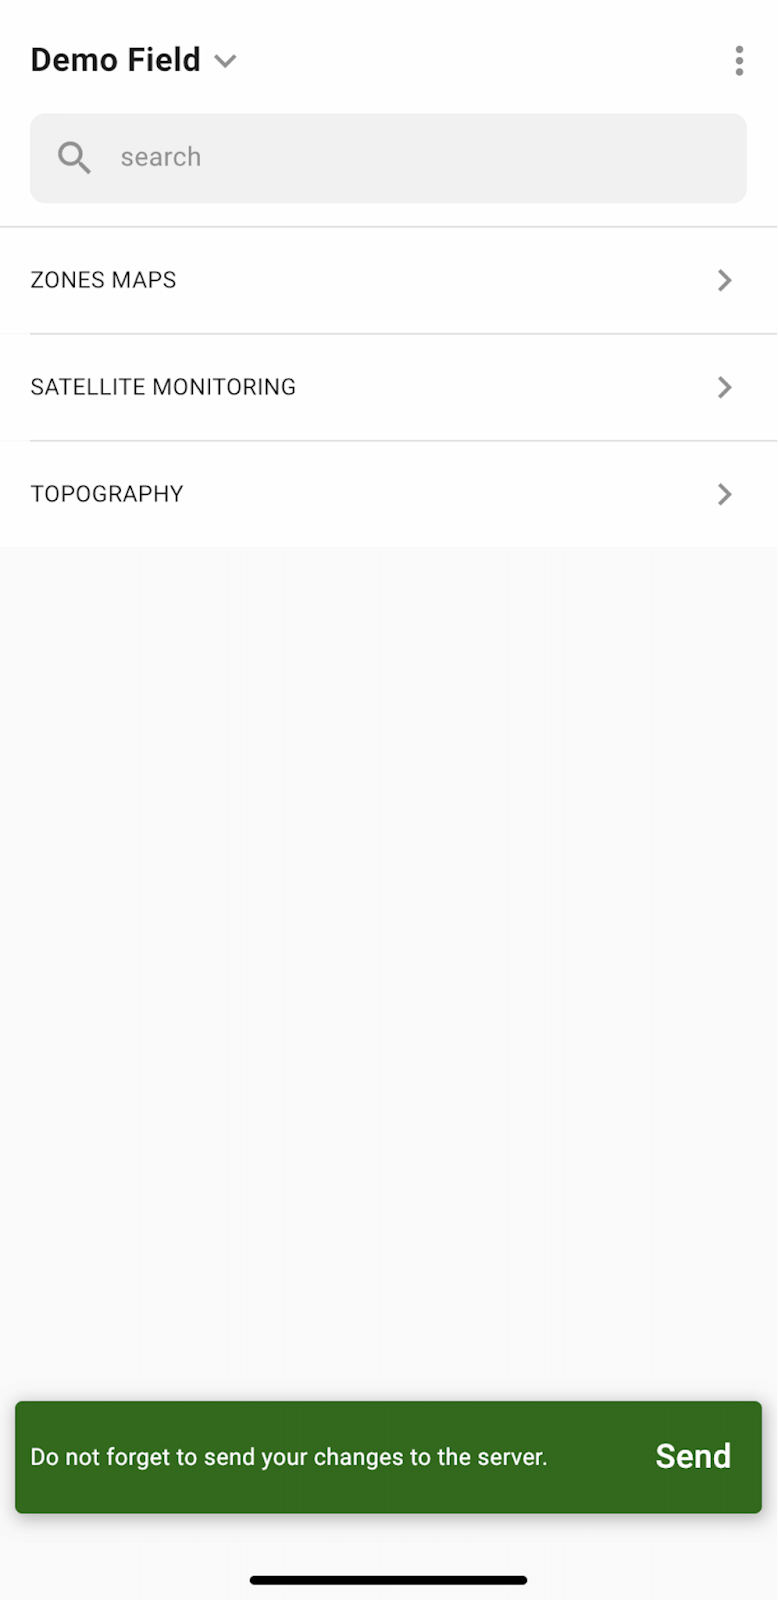
Wenn Sie Ihre Arbeit auf dem Feld beendet und Markierungen hinzugefügt oder bearbeitet haben, wird eine Benachrichtigung angezeigt, in der Sie aufgefordert werden, Ihre Änderungen auf den Server hochzuladen. Wenn Sie offline arbeiten, werden Sie zum Hochladen Ihrer Änderungen aufgefordert, sobald Sie wieder mit dem Netzwerk verbunden sind.
Tippen Sie auf „Senden“, um Ihre Änderungen mit dem Server zu synchronisieren.
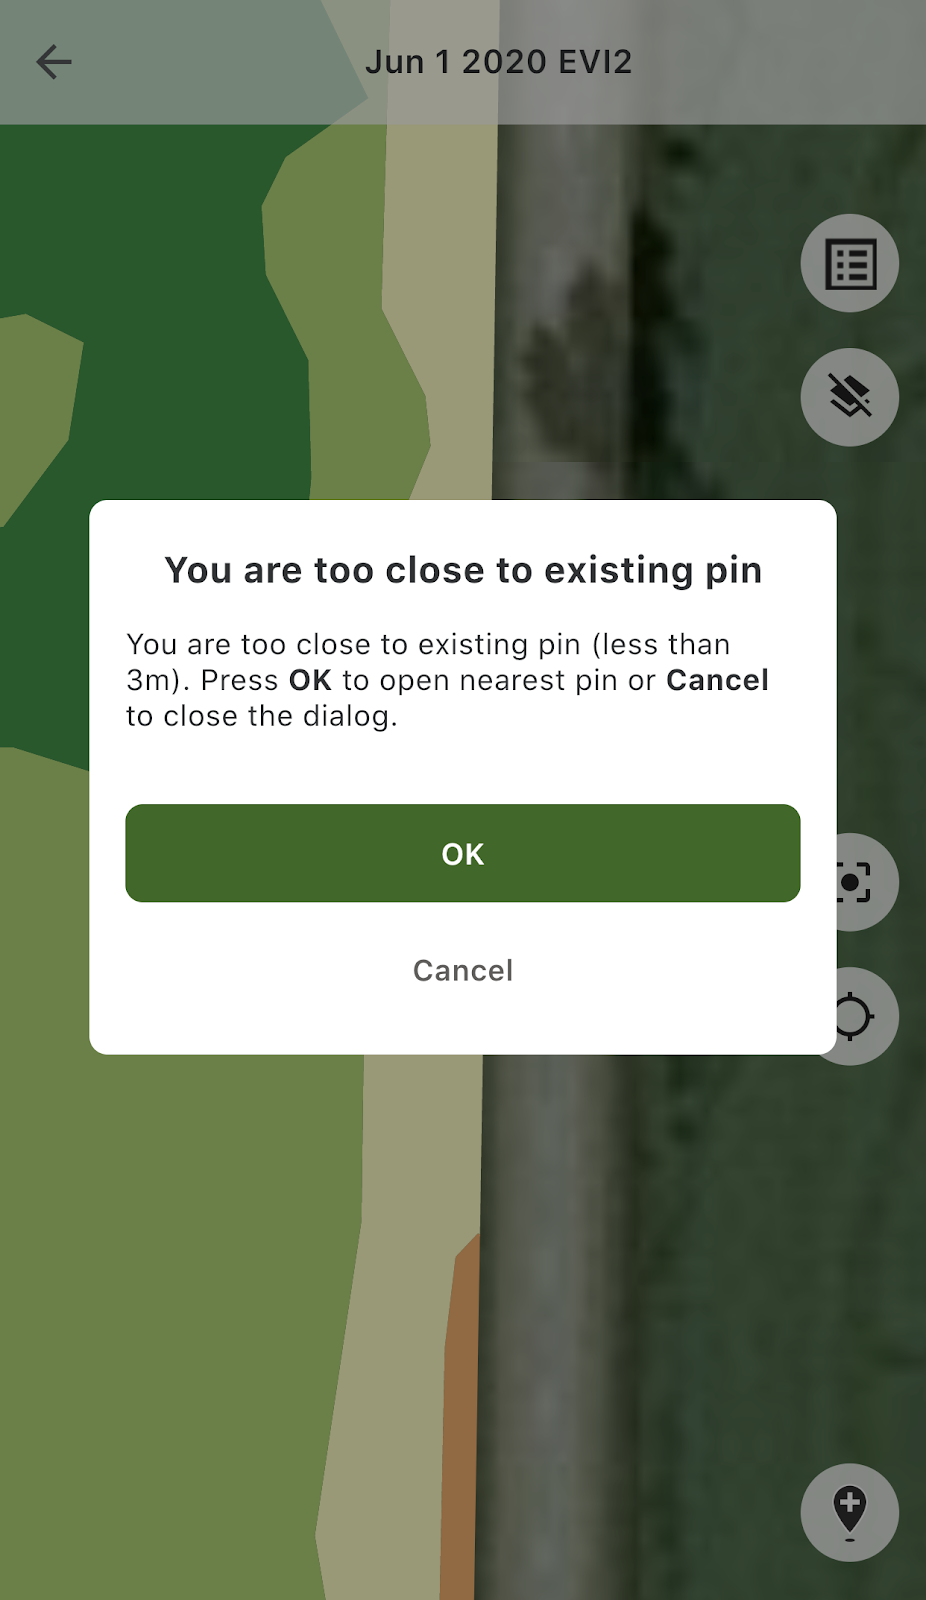
Wenn Sie sich in der Nähe einer vorhandenen Markierung befinden und versuchen, eine neue hinzuzufügen, wird folgende Meldung angezeigt:
In diesem Fall können Sie auf „OK“ tippen, um die nächstgelegene Markierung zu öffnen, oder auf „Abbrechen“, um die Meldung zu schließen.
---
# Agent Instructions
This documentation is published with GitBook. GitBook is the documentation platform designed so that both humans and AI agents can read, navigate, and reason over technical content effectively. Learn more at gitbook.com.
## Querying This Documentation
If you need additional information that is not directly available in this page, you can query the documentation by asking a question.
Perform an HTTP GET request on the following URL with the `ask` and `goal` query parameters:
```
GET https://docs.geopard.tech/geopard-tutorials/de/produkt-tour-mobile-app/working-offline.md?ask=&goal=
```
`ask` is the immediate question: it should be specific, self-contained, and written in natural language.
`goal` is what the user is ultimately trying to achieve, the reason they need the answer. Sharing it helps GitBook give you a better, more relevant answer. A goal is most helpful when it describes the outcome the user wants rather than restating the question. For example, with `ask=how do I create an API token`, a goal like `automate deployments from our CI pipeline` lets GitBook tailor the answer to that use case.
The response will contain a direct answer to the question and relevant excerpts and sources from the documentation.
Use this mechanism when the answer is not explicitly present in the current page, you need clarification or additional context, or you want to retrieve related documentation sections.